Logo Design
November 20, 2016
What you never knew about The Shining and German philosophy
November 25, 2016I did it. I figured out my favorite kimchi recipe. I’ve tried a few over the past year. Some were too spicy, some were too garlicky, and some were not sour enough. The funny thing is that I never actually had tried kimchi before making my first batch. Yes, you read that right. I learned about kimchi on my fermentation journey from the fabulous Virginia at Vert Foods, and the ingredients alone made my mouth water and I just had to try it.
And what can I say, it’s good for you and so far almost everybody that has tried it liked it too. A friend of mine even said that my kimchi is better than the one she had at the Korean restaurant down the street. Holy moly!
The kids know it as medicine (along with fire cider) and will also take it when they feel a sore throat coming on or any other sign of being sick.
According to Wikipedia, South Koreans consume 40 pounds (18 kg) of kimchi per person annually, and some credit Korea’s industrious energy as a people, and their nation’s rapid economic growth, in part to eating the dish. Kimchi is made of various vegetables and contains a high concentration of dietary fiber, while being low in calories. One serving also provides over 50% of the daily recommended amount of vitamin C and carotene. Most types of kimchi contain onions, garlic, ginger, and chili peppers, all of which are salutary. The vegetables used in kimchi also contribute to its overall nutritional value. Kimchi is rich in vitamin A, thiamine (B1), riboflavin (B2), calcium, and iron, and contains lactic acid bacteria, among those the typical species Lactobacillus kimchii.
For more detailed information about the health benefits of Kimchi, check out Jenn’s post over at Jen Reviews.
But long story short, here’s how to make your own lacto-fermented kimchi and get ready for the cold season (recipe adapted from Nourished Kitchen and Vert Foods)
Ingredients:
¼ lb ginger (peeled and cut into chunks)
2 Tbsp hot pepper flakes or fresh peppers (trimmed of stems, seeded if desired)
2 Tbsps unrefined cane sugar
2 or 3 sardines with skin and bones (optional, leave out for vegan kimchi)
4 Tbsp unrefined sea salt
2 heads Napa cabbage
1½ lbs carrots
1½ lbs daikon radish
2 heads garlic (peeled and chopped)
Instructions:
1. Remove the two outer leaves of the napa cabbage and set aside. Chop the the rest into bit-sized chunks, place into a big bowl (or two). Dissolve 3Tbsp of salt in warm water and pour over the cabbage to cover. Let it sit for 30 minutes, then drain.
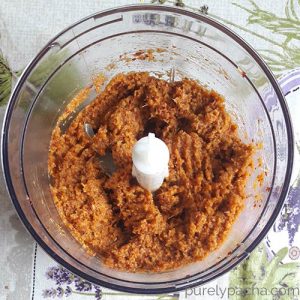
2. While your cabbage is soaking, place the ginger, garlic, sugar, chili peppers, sardines and the rest of the salt into a food processor and process until it forms a smooth paste. Sometimes I add a tiny bit of water to make it smoother and easier to process.
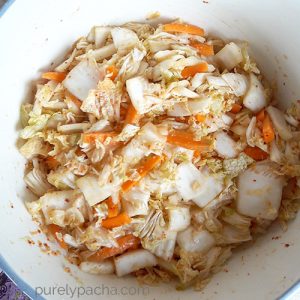
3. Chop the carrots and radishes into two-inch strips, about a 1/4 inch thick. Add to the big bowl with the cabbage and mix with the paste until everything is coated evenly and some brine starts forming at the bottom of the bowl.
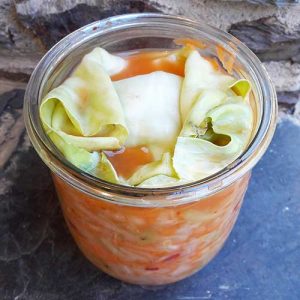
4. Scoop your mixture into your prepared jars, pushing everything down with your hands (or a wooden spoon) as go go along. You’re trying to remove air bubbles and encourage the vegetables to release more of their juices. You want enough brine in the jar to cover your veggies. Leave about 1/2 inch of space to the rim of the jar. Place one of the outer cabbage leaves that you had saved at the top of the vegetables. This is your sacrificial leave. It keeps your kimchi submerged in brine and prevents it from becoming moldy. If you open your jar at some point and notice mold on top of your sacrificial leave, just toss it. As long as your veggies were covered with brine, they’re fine. Mold cannot grow under water or brine. Close the jar and let your kimchi ferment for at least a week before trying it.
Depending on the jar you’re using you might have to burp your kimchi occasionally for the first few days. I also always put my jars on a plate or into a baking pan to catch any spills that might happen during the first few days when things get really bubbly. Taste it after a week, or let it ferment longer if you prefer a sourer kimchi like me. Transfer to a basement or refrigerator once it has reached its desired level of sourness. Once you opened the jar and removed the sacrificial leaf, store it in the refrigerator.
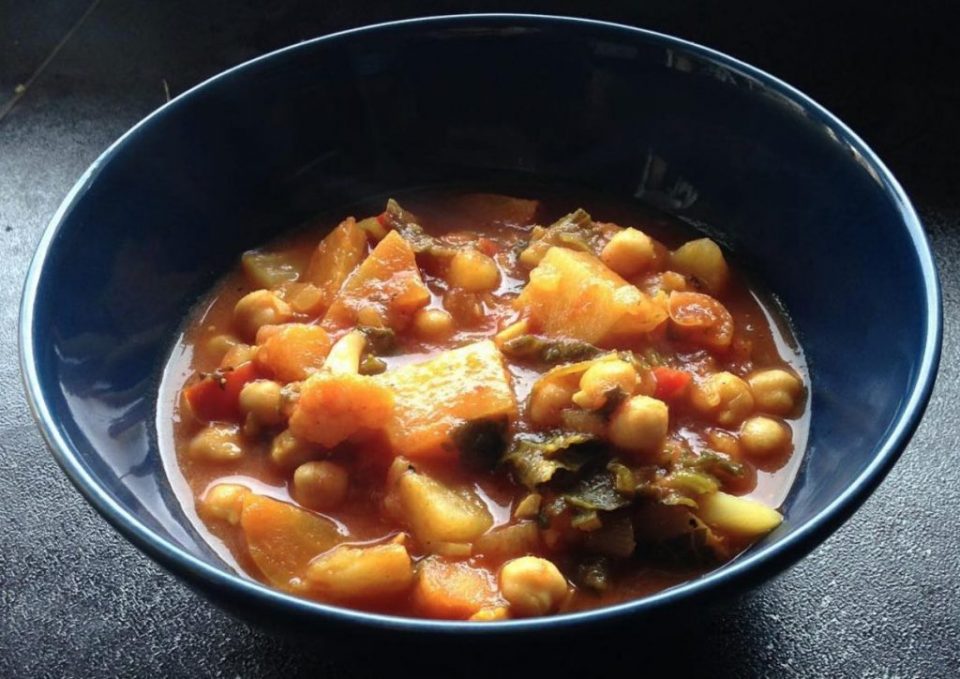
Enjoy a couple tablespoons as a side dish. I love kimchi in soups and stews, as well as bean dishes. It adds a flavorful sour spiciness and a ton of nutrition!
-
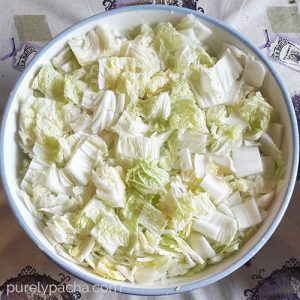
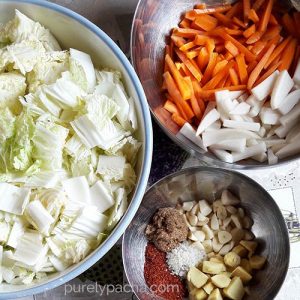
- I like my kimchi better with smaller cabbage pieces that I can actually fit into my mouth. And that won’t empty half the jar in one bite… 😉
-
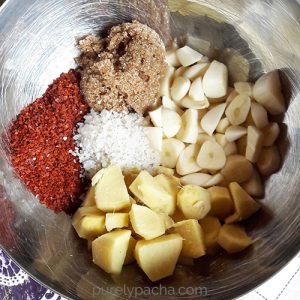
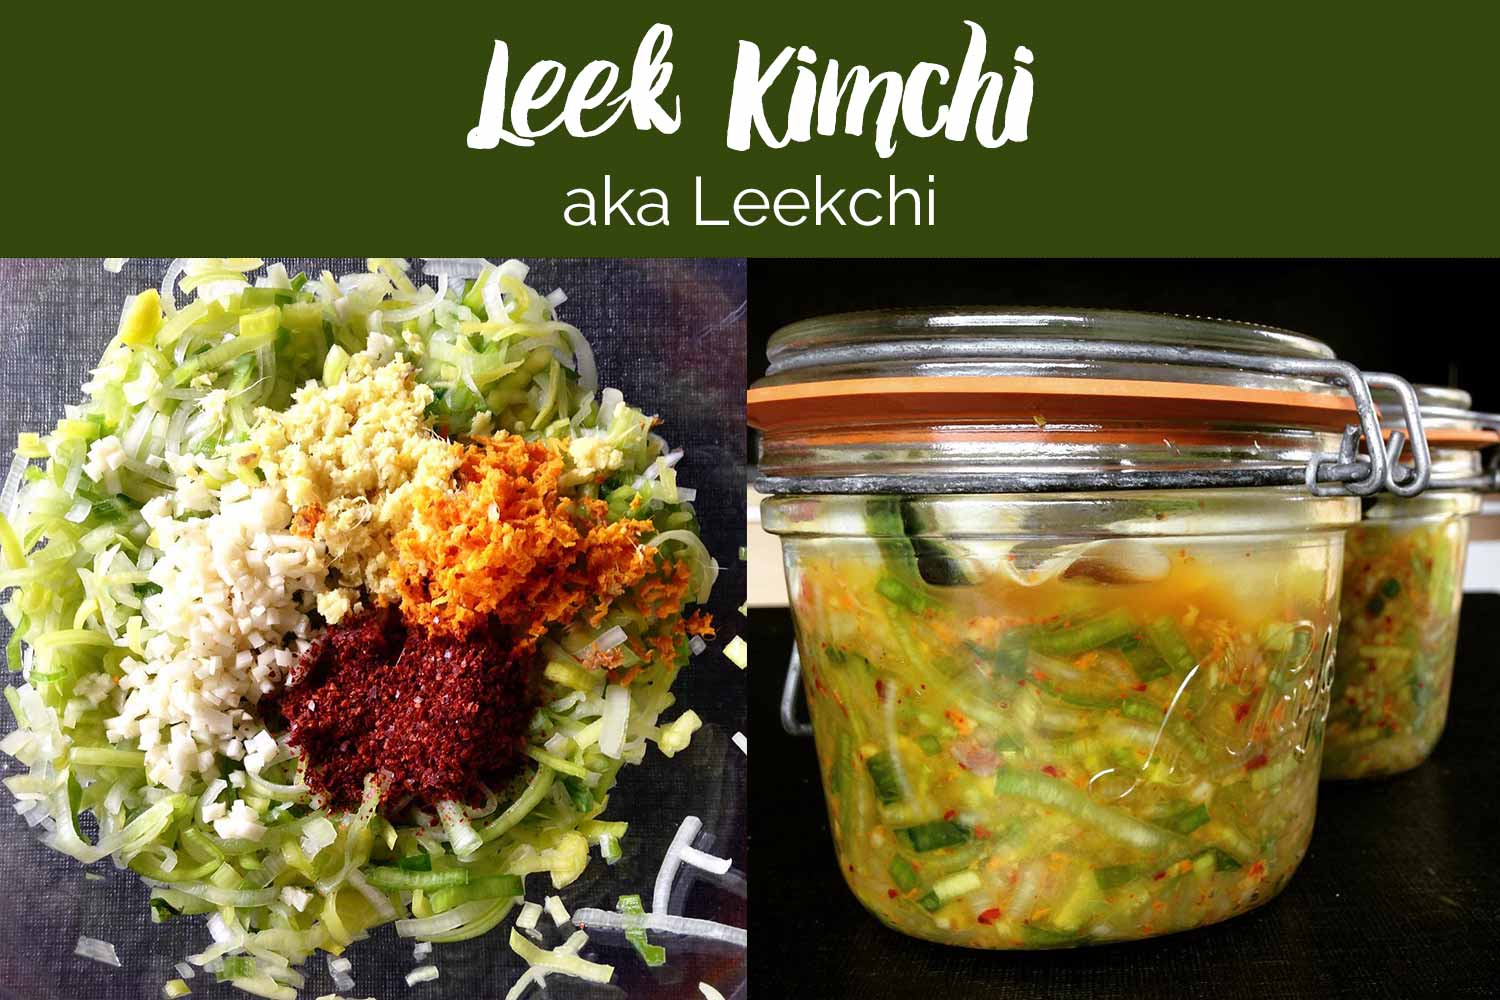
- All the ingredients for the paste. If you want, you could add your sardines at this step for a more authentic kimchi flavor, and a different set of lactobacilli.
-
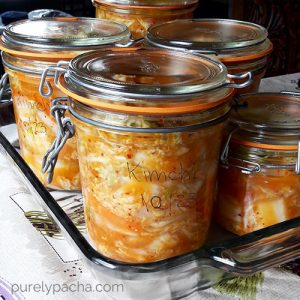
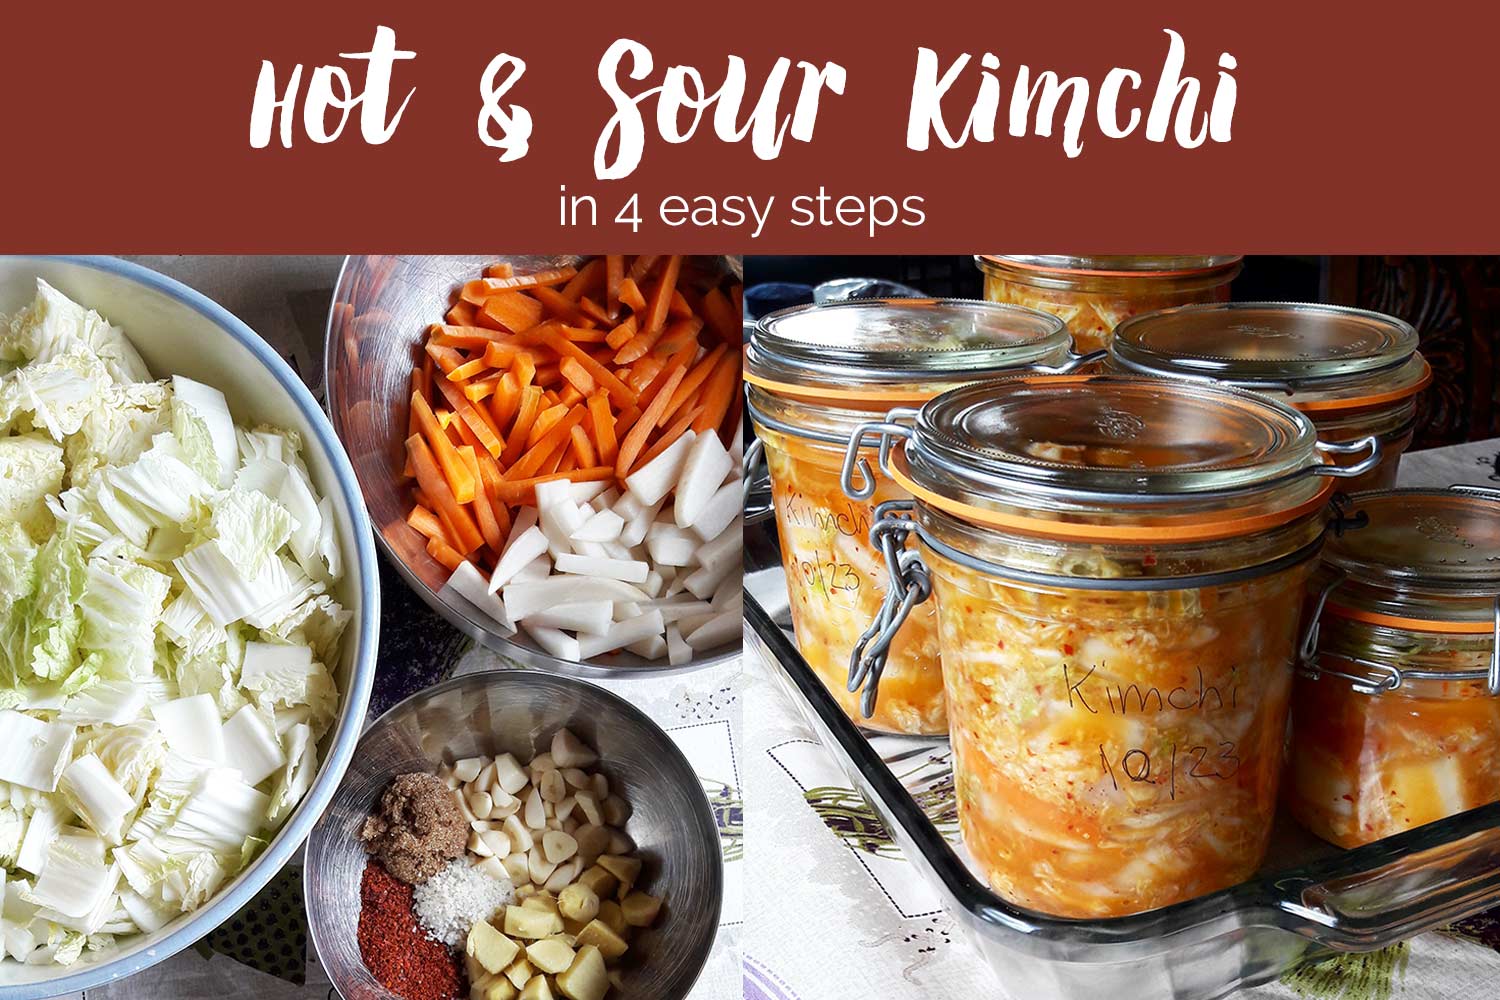
- Don’t forget to date your jars! I usually just do it with a permanent marker on the glass jars. It won’t rub off until you clean the jar. If I give away a jar of Kimchi, I might add a fancy label.
Save
Save
If you want to learn more about the science of what goes on in your kitchen and garden, be sure to check these other articles.


