

Caring for Compost: Art or Science?
March 19, 2016
Fear and Loathing in Easternmost SLO County
March 26, 2016
All You Knead is Loaf
It’s been almost a year since my guest blog post about sourdough bread over at Bambu Batu. I’ve made that bread many times since then, and over the past year, I’ve simplified it more and more. And I also finally Americanized it for those of you who prefer a measuring cup over a scale.
I hereby present you with the easiest, no-knead sourdough bread possible. I know sourdough can be daunting. I know it seems finicky and so complicated (I mean having to feed your starter is like having pet, right?!), but once you’ve made a successful loaf you can’t go back.
There are plenty of articles out there on how to make your own starter. If you’re lucky, you can pick some up from a friend or get some from a local baker. You can also order some online. Either way, before you start baking, make sure your starter is healthy, well-fed and active.
DISCLOSURE: This article may include some affiliate links. This means that, at no additional cost to you, we will earn a small commission if you click through those links and make a purchase. This helps us meet the costs of producing and maintaining our site.
Ingredients:
1c active sourdough starter (mine is all white and on the thicker side)
1 1/2c (200g) all purpose flour
1 1/2c (200g) whole wheat flour
1 1/2 tsp (8g) salt (I use pink Himalayan)
11oz (320ml) filtered water
Instructions:
The above quantities will give you a 85% hydration dough with about 1.2% salt.
1. In a big glass bowl mix all ingredients together to a sticky dough ball. Cover bowl and let ferment 12-18 hours. I usually either do this before I go to bed to bake in the morning, or in the morning to bake at night.
2. After the initial bulk fermentation your dough should be very bubbly with lots of holes and jiggle a bit like Jello. Don’t go longer than 18 hours, or even more that 12 if it’s really warm, or your sponge will turn back into starter. Deflate the sponge by scraping down the sides of the bowl using a silicon spatula. Scrape the dough from the side of the bowl and fold it over itself towards the other side of the bowl. Then turn the bowl and repeat. Scrape, fold, repeat. Until you have a smaller sticky dough ball in the middle of your bowl. The dough is very wet, but should stick to itself more than to the bowl or spatula.
3. Grease your bread pan (mine is about 9×5”, and I use coconut oil) and pour your sponge into the pan, scraping down the sides as you go. Cover the bread pan to keep the moisture in and set your timer to 1 hour. (Short if it’s really hot, or longer if it’s really cold. Sourdough like it warm, preferably between 70ºF and 80ºF (21-27ºC).
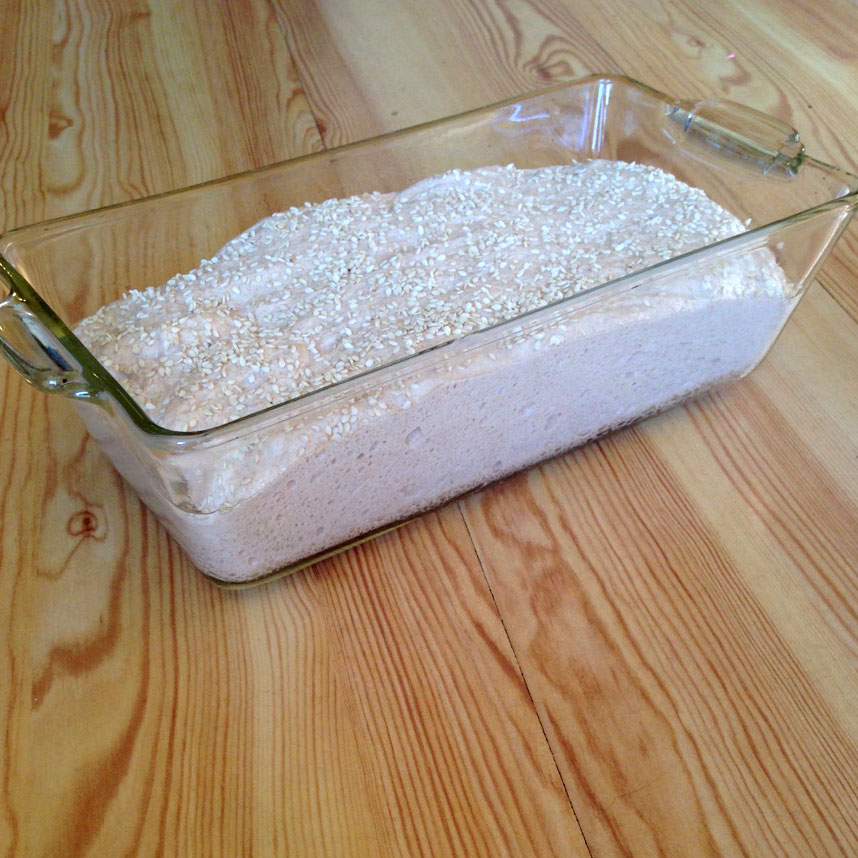
4. After the hour is over, your second ferment is probably a bit bigger again. Turn on your oven to 425ºF (220ºC), sprinkle the bread with seeds or oats (optional).
5. When your oven is up to temperature, bake the bread for 40 min.
6. Take it out of the oven, cover it with a towel for 10-15 min.
7. Remove from pan, which should be easy now, and let it cool down completely on a cooling rack. Resist the urge to cut the hot loaf. The steam inside keeps baking the bread. If cut too soon it might get too chewy inside.
There you have it. Easy peasy, lemon squeezy as we like to say around here.
-
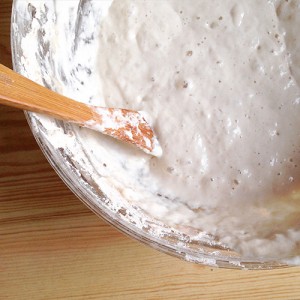
- Active starter

-
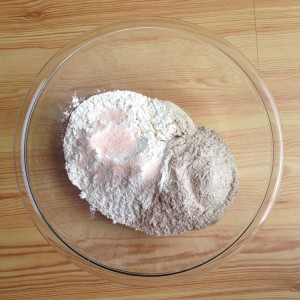
- Starter with flour and salt

-

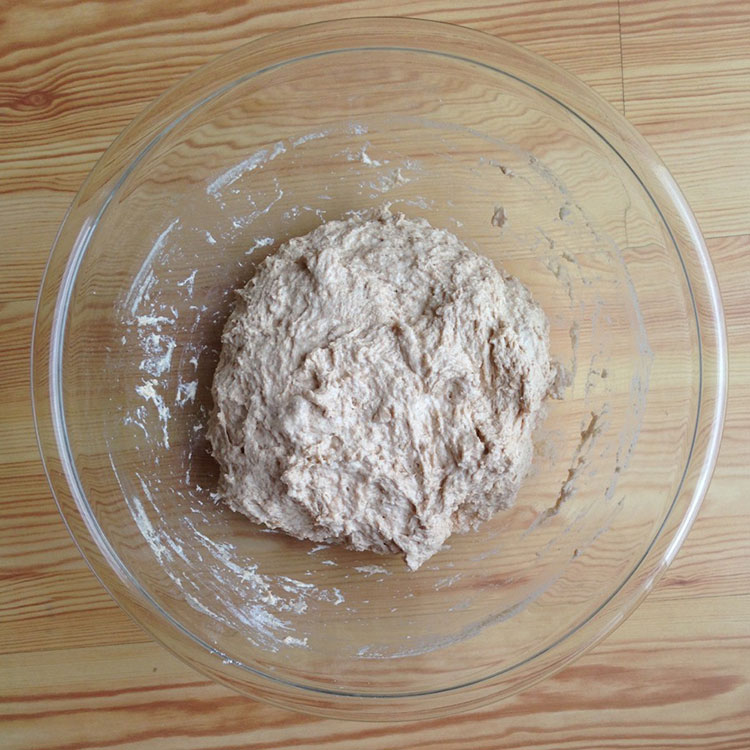
- Starter with flour, water and salt mixed together.
-

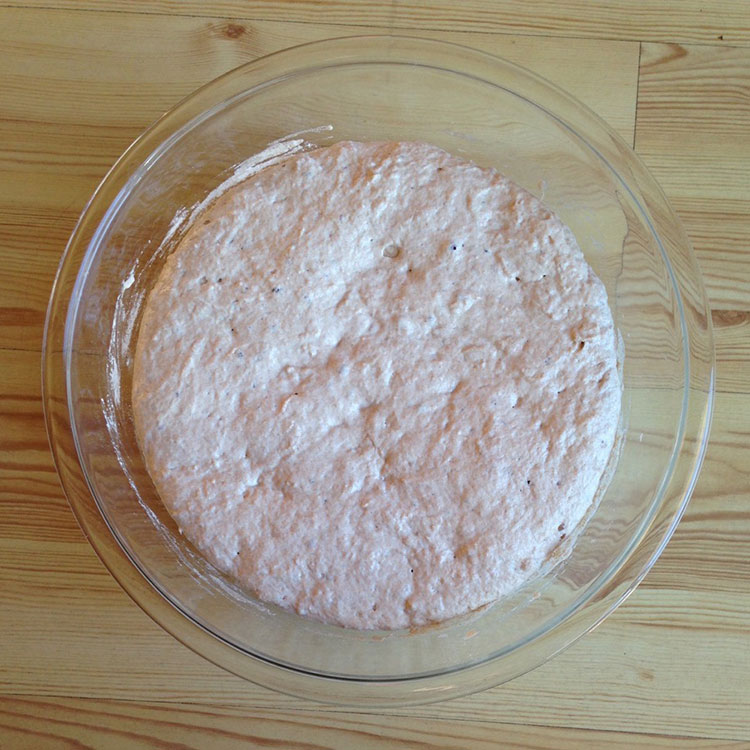
- Sponge after about 8 hours
-
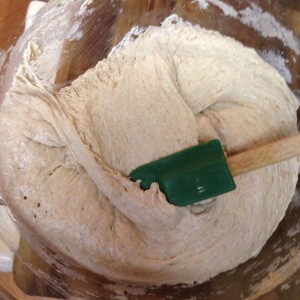
- Deflating and folding the sponge

-
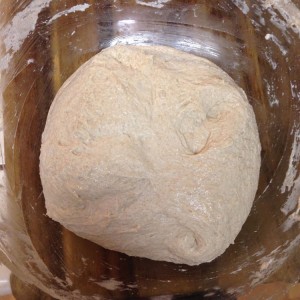
- Deflated. Sticky but hold its shape a lot better.

-

- Half way through second rise
-

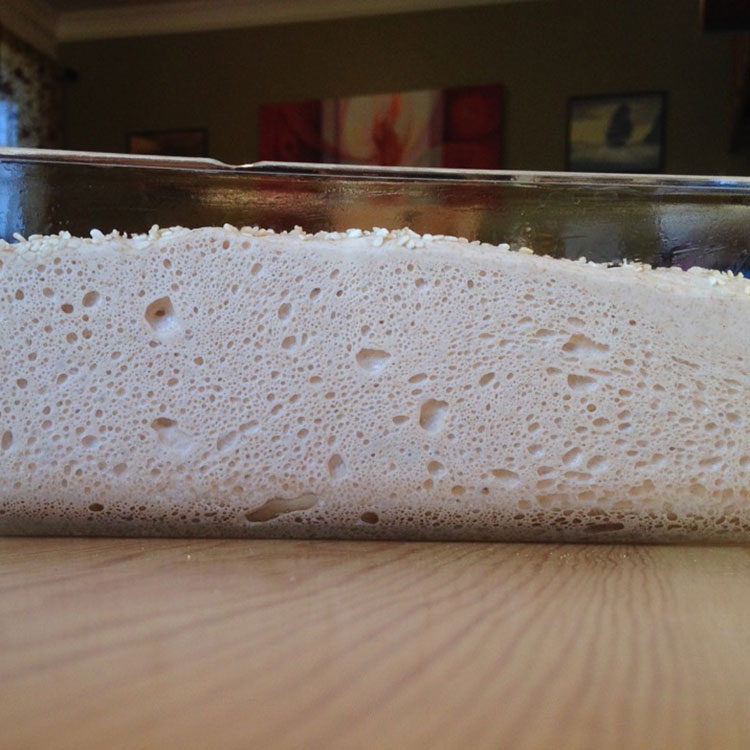
- Visible bubbles on the sides of the pan
-
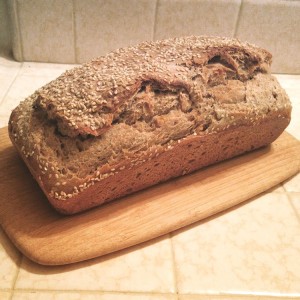
- Finished loaf with sesame seeds
-
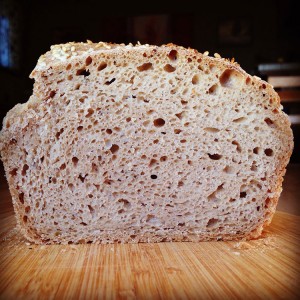
- Even holes, nice rise, thin crust. Yummy.

-

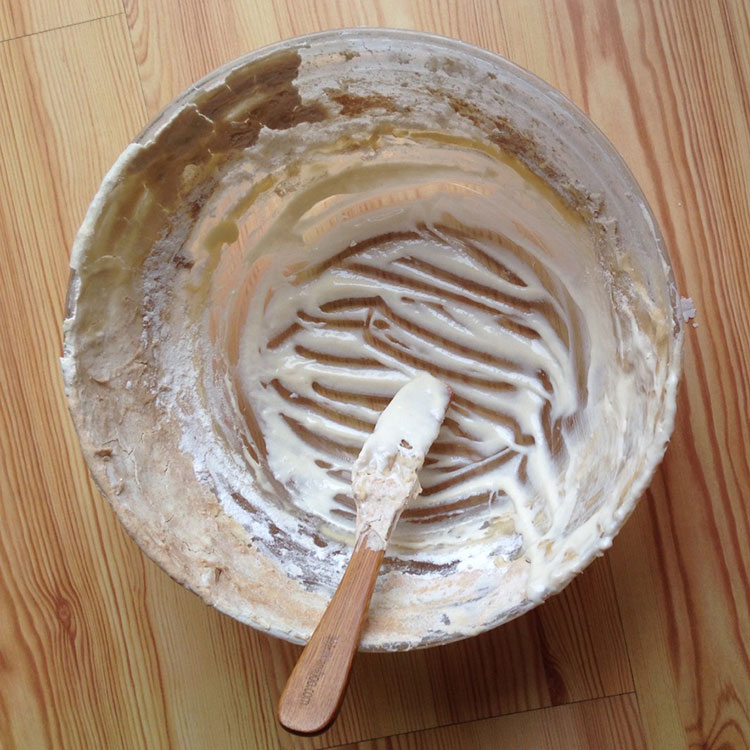
- This is where my starter lives. I usually empty the bowl like this, then just add flour and water to make more starter.
FURTHER READING: If you want to learn more about the science of what goes on in your kitchen and garden, be sure to check these other articles.


14 Comments
Awesome!!! Thanks Pacha! How many days does it take for your new starter to be ready and do you feed it daily until it is?
Hi LeeAnn! If I start my bread at night, I just add more flour and water to my starter bowl and it’s ready to use again in the morning. I haven’t washed that bowl since I got this starter. When the crust gets too thick it starts flaking off. To prevent that when I don’t want it, like when I’m preparing starter to make pancakes, I scrape off the sides and soak the flakes and chunks in water before feeding it. After too feeds the chunks are usually dissolved. You can just discard them, too. But I can empty my starter bowl completely, and there are enough microbes left in the crust of the bowl to inoculate the next batch.
I love the simplicity of this recipe and it always comes out delicious! Have you tried adding anything to the mix, like fresh or dried herbs?
Thanks Linda! Happy to hear the recipe is working for you! You can definitely add herbs to the mix. You can also add spices and seeds. I have a recipe for a German-style bread (with seeds and spices) here: German-style seeded sourdough bread. I’ve also tried it with rosemary and fresh garlic. You just have to add the garlic AFTER you make the sponge, because it’s highly anti-microbial and can kill your starter. I’ve also done a sweet version, adding cinnamon and honey. Let me know what you end up trying and how it turned out!
Pascha, my dough rose much sooner than 12 hours and I wasn’t home. By the time I got home it was starting to fall. I punched it down all the way and am going to see if it will rise again. Do you know if it will be OK or if the sourdough is dead and the bread won’t rise again? Thanks, Liz
That happens to mine, too. Usually it takes 6-8 hours in my house. You’ll figure out YOUR starter activity in YOUR house once you’ve used it a few times. That the dough deflated doesn’t mean it’s dead, it means it ran out of gluten and is HUNGRY again. You can always add a little more four and let it rise again. If you let it sit too long your sponge will just turn back to starter.
I would just still follow the recipe, since it had been less than 12 hours. Deflate, put into your greased pan, let rise again and then bake. Most likely it will rise again, possibly not as much. The bread will still turn out great and be yummy. Sometimes when the second rise is too long, it deflates in the oven. You’ll just end up with bread that’s more flat on top. Had many of those loaves myself. 😉
It’s really hard to screw this up completely. If you have happy, active starter, you will get a decent loaf of bread. Since it has been 4+ hours since your comment, you probably baked your bread already. Let me know what you ended up doing and how it turned out!
Thanks for the detailed reply! That loaf didn’t turn out too well, but I’m continuing on experimenting with the recipe. I’m learning my starter works very fast. Thank you .
Pacha, I’m late on the no-knead recipe bandwagon, but it was worth the wait! Your recipe is giving me my most successful sourdough ever, thank you! ❤️
Hi Jenny! I’m so happy to hear that! Glad it’s working for you! Thanks for sharing! <3
Hi I just got a starter from a friend. Do you have to use wheat flour in the making the bread at the end time or can you use 3 cups white flour? Dawn
Hi Dawn! I’m assuming you mean WHOLE wheat. So, no, you don’t have to use whole wheat. You can use 3 cups of white wheat if you want. Obviously it makes a white bread, and it might rise a bit more, too. Oh, and you might need a tiny bit less water. Hope this helps.
[…] to ensure even saturation, and serve with toothpicks or skewers. (It also helps to have some nice bread around, to soak up the marinade after the mushrooms are […]
Hi,
Do you have this recipe for use with scales, (weights rather than cups) as you say you’ve americanised it and wondered if the old version is still available as I’m from the UK.
Thanks
Hi Simon! I noted the weight measurements in the ingredient list. Let me know how it turns out for you!